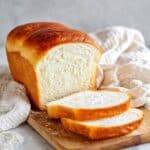
Homemade Honey White Bread Recipe
Introduction
Making homemade bread is a rewarding experience that fills your kitchen with a delicious aroma and results in warm, fresh loaves. This simple recipe uses basic ingredients and straightforward steps, perfect for both beginners and seasoned bakers eager to enjoy soft, flavorful bread.
Ingredients
- 2 cups warm water (105-115°F)
- 1 tablespoon active dry yeast
- 1/4 cup honey or sugar
- 2 teaspoons salt
- 2 tablespoons oil (vegetable or canola)
- 4 to 5 1/2 cups all-purpose or bread flour
Instructions
- Step 1: In a large bowl or stand mixer, combine the yeast, warm water, and a pinch of sugar or honey. Let it rest for 5 to 10 minutes until the mixture becomes foamy.
- Step 2: Add the remaining honey or sugar, salt, oil, and 3 cups of flour to the yeast mixture. Mix until combined.
- Step 3: Stir in an additional cup of flour, then continue adding flour 1/2 cup at a time until the dough pulls away from the sides of the bowl. The dough should be smooth and slightly sticky.
- Step 4: Knead the dough for 4 to 5 minutes using medium speed in a stand mixer or 5 to 8 minutes by hand until elastic.
- Step 5: Grease a large bowl and place the dough inside, turning to coat it in oil. Cover the bowl and let the dough rise until it doubles in size, about 1.5 hours.
- Step 6: Punch down the dough to release air, then divide it into two equal portions. Shape each into a log and place them in greased 9×5-inch loaf pans.
- Step 7: Cover the pans with greased plastic wrap or a clean towel and allow the dough to rise until it’s about 1 inch above the pan edges, roughly 45 to 60 minutes.
- Step 8: Preheat your oven to 350°F. Bake the loaves for 30 to 33 minutes, until they are golden brown and sound hollow when tapped.
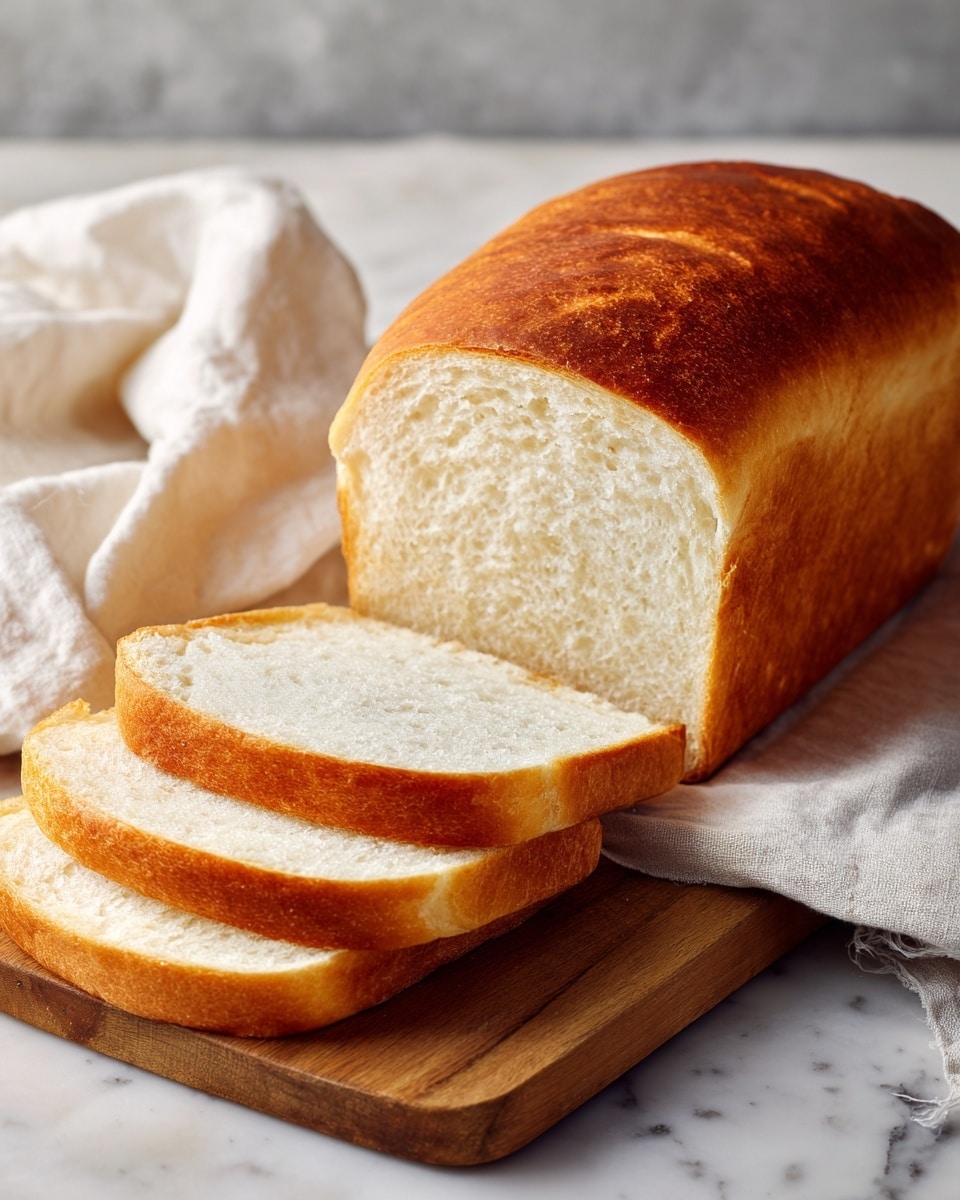
- Step 9: Remove the loaves from the pans and invert them onto a wire rack. Brush the tops with butter and let cool for at least 10 minutes before slicing.
Tips & Variations
- For a richer flavor, substitute honey with maple syrup or molasses.
- If you prefer a crustier bread, bake the dough on a preheated baking stone or place a pan of water in the oven to add steam.
- Adding herbs like rosemary or thyme to the dough can enhance the aroma and taste.
- Use bread flour instead of all-purpose for a chewier texture.
Storage
Store homemade bread in an airtight container at room temperature for 2 to 3 days. To extend freshness, refrigerate for up to 5 days. Reheat slices in a toaster or warm in an oven to bring back softness.
How to Serve
Serve this delicious recipe with your favorite sides.
FAQs
Can I use instant yeast instead of active dry yeast?
Yes, you can substitute instant yeast. Since it doesn’t require proofing, mix it directly with the flour and reduce the water slightly if needed. The rising time might be faster.
How do I know when the dough has risen enough?
The dough should double in size and look puffy. A simple test is pressing your finger gently into the dough; if the indentation remains, it’s ready for the next step.
PrintHomemade Honey White Bread Recipe
This Homemade Bread recipe creates soft, golden loaves with a slightly sweet flavor from honey or sugar. Perfect for sandwiches or toast, it requires simple ingredients and uses a traditional baking method with a two-stage rising process to develop great texture and flavor.
- Prep Time: 20 minutes
- Cook Time: 33 minutes
- Total Time: 3 hours 45 minutes
- Yield: 2 loaves 1x
- Category: Bread
- Method: Baking
- Cuisine: American
- Diet: Vegetarian
Ingredients
Wet Ingredients
- 2 cups warm water (105-115°F)
- 1/4 cup honey or sugar (divided)
- 2 tablespoons oil (vegetable or canola)
Dry Ingredients
- 1 tablespoon active dry yeast
- 2 teaspoons salt
- 4 to 5 1/2 cups all-purpose or bread flour
Instructions
- Activate Yeast: In a large bowl or stand mixer, combine the yeast, warm water, and a pinch of sugar or honey. Let the mixture rest for 5 to 10 minutes until it becomes foamy, indicating the yeast is active and ready.
- Combine Ingredients: Add the remaining sugar or honey, salt, oil, and 3 cups of flour to the yeast mixture. Mix well to incorporate all ingredients.
- Add More Flour: Gradually add an additional cup of flour and mix. Continue to add flour 1/2 cup at a time until the dough starts to pull away from the sides of the bowl. The dough should be smooth and slightly sticky but manageable.
- Knead Dough: Knead the dough on medium speed using a stand mixer for 4-5 minutes, or knead by hand for 5-8 minutes. This develops the gluten for structure and elasticity.
- First Rise: Grease a large bowl lightly with oil, place the dough inside, turning it to coat with oil. Cover with a cloth or plastic wrap and let it rise in a warm place until doubled in size, about 1.5 hours.
- Shape Loaves: Punch down the risen dough and divide it into two equal portions. Shape each portion into a log and place them into greased 9×5 inch loaf pans.
- Second Rise: Cover the loaf pans with greased plastic wrap or a towel. Let the dough rise again until it is about 1 inch above the pan edge, roughly 45-60 minutes.
- Bake: Preheat your oven to 350°F (175°C). Bake the loaves for 30-33 minutes until they are golden brown and sound hollow when tapped on the bottom.
- Cool and Finish: Remove the loaves from the pans and invert them onto a wire rack. Brush the tops with butter for added flavor and softness. Allow the bread to cool for at least 10 minutes before slicing.
- Storage: Store the bread in an airtight container at room temperature for 2-3 days or refrigerate for up to 5 days to maintain freshness.
Notes
- Ensure water temperature is between 105-115°F to properly activate yeast without killing it.
- The dough should be slightly sticky but manageable; adding too much flour can make bread dense.
- Allowing proper rising time is key for fluffy bread texture.
- Brush with butter immediately after baking for a softer crust.
- Use bread flour for a chewier texture or all-purpose flour for a softer loaf.
- Store bread in a cool, dry place to avoid mold growth.
Keywords: homemade bread, easy bread recipe, yeast bread, soft bread loaf, baking bread