Magic Crust Custard Pie Recipe
Introduction
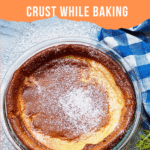
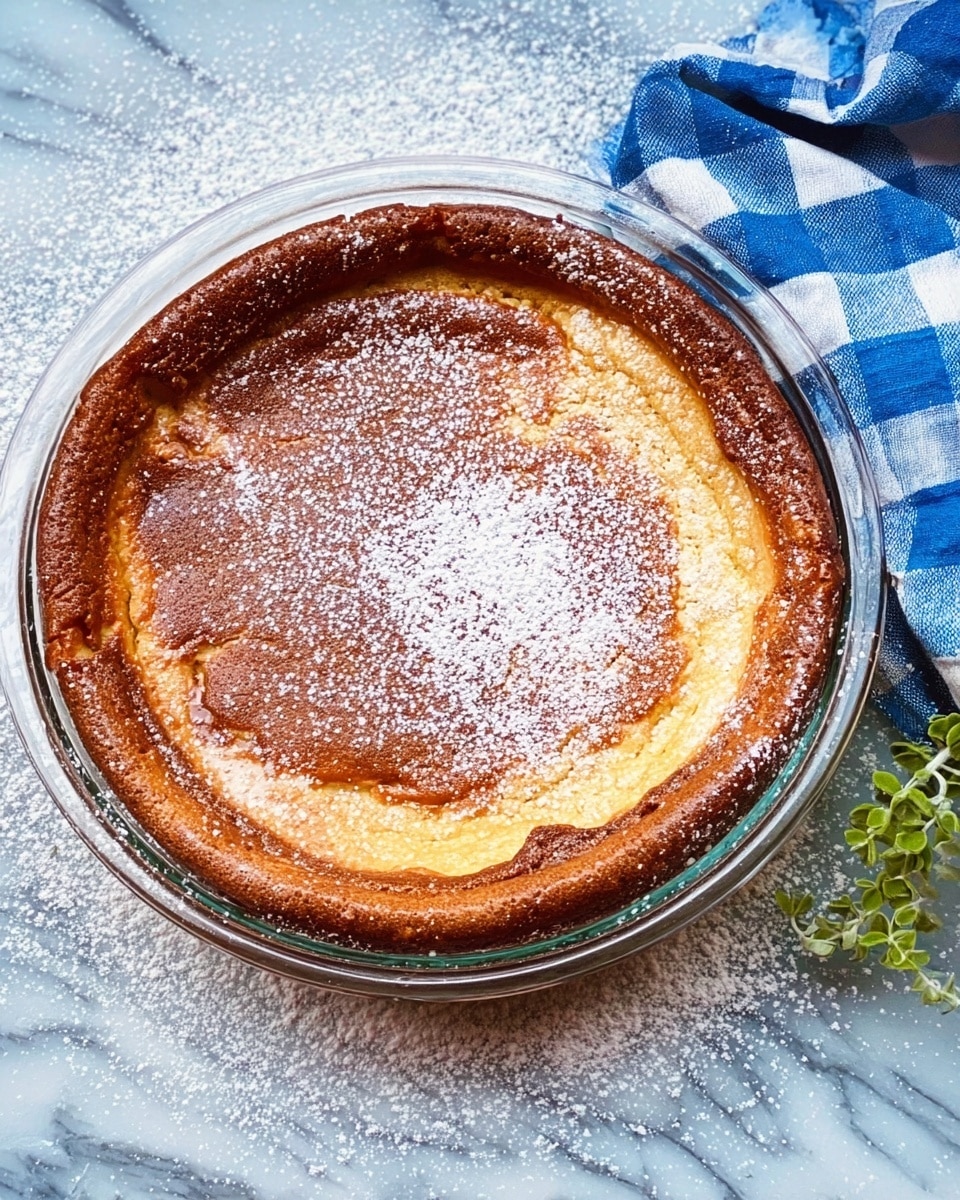
The Magic Crust Custard Pie is a delightful dessert that forms its own flaky crust as it bakes. With simple ingredients and an easy blender method, this pie is perfect for a quick homemade treat that surprises with its texture and flavor.
Ingredients
- 1/4 cup margarine
- 4 eggs
- 3/4 cup white sugar
- 1 pinch salt
- 2 cups 2% milk
- 2 teaspoons vanilla extract
- 1/2 cup all-purpose flour
Instructions
- Step 1: Put all ingredients into a blender and blend for 30 seconds until smooth.
- Step 2: Butter a 9-inch pie plate thoroughly to prevent sticking.
- Step 3: Pour the batter into the prepared pie plate evenly.
- Step 4: Sprinkle the top of the batter lightly with nutmeg for added flavor.
- Step 5: Bake the pie at 350 degrees Fahrenheit for 45 minutes until set and golden.
- Step 6: Allow the pie to cool slightly; the flour will have settled to create its own crust.
Tips & Variations
- For a richer flavor, substitute margarine with unsalted butter.
- Add a pinch of cinnamon along with nutmeg for a warm spice note.
- Using whole milk instead of 2% can make the custard creamier.
Storage
Store leftover pie covered in the refrigerator for up to 3 days. Reheat gently in the oven or serve chilled according to your preference. This pie is best enjoyed fresh but holds well overnight.
How to Serve
Serve this delicious recipe with your favorite sides.
FAQs
Can I use fresh cream instead of milk?
Yes, you can use fresh cream or half-and-half for a richer custard, but it may change the texture slightly.
Why does the pie form its own crust?
The flour in the batter settles to the bottom during baking, naturally creating a crust without needing a separate dough.
PrintMagic Crust Custard Pie Recipe

This Magic Crust Custard Pie is a wonderfully simple and unique dessert where the flour settles at the bottom during baking to form a natural crust, making the pie effortless to prepare. With creamy custard filling infused with vanilla and a hint of nutmeg, this pie is a delightful classic perfect for any occasion.
- Prep Time: 10 minutes
- Cook Time: 45 minutes
- Total Time: 55 minutes
- Yield: 8 servings 1x
- Category: Dessert
- Method: Baking
- Cuisine: American
Ingredients
Custard Pie Ingredients
- 1/4 cup margarine
- 4 eggs
- 3/4 cup white sugar
- 1 pinch salt
- 2 cups 2% milk
- 2 teaspoons vanilla extract
- 1/2 cup all-purpose flour
- Nutmeg, for sprinkling
Instructions
- Blend Ingredients: Put all the ingredients except the nutmeg into a blender. Blend for 30 seconds until smooth and well combined, ensuring the eggs, sugar, milk, margarine, salt, vanilla, and flour are fully mixed.
- Prepare Pie Plate: Butter a 9-inch pie plate thoroughly to prevent sticking and to help with easy removal of the pie after baking.
- Pour Batter: Pour the blended custard batter into the buttered pie plate evenly.
- Sprinkle Nutmeg: Lightly sprinkle nutmeg over the top of the batter to add a fragrant and warm spice that complements the custard.
- Bake the Pie: Place the pie plate in a preheated oven at 350°F (175°C) and bake for 45 minutes. The batter will set, and during baking, the flour will naturally settle at the bottom forming a perfect crust.
- Cool and Serve: Remove the pie from the oven and allow it to cool before slicing. The magic crust will have formed naturally, making it ready to enjoy.
Notes
- Use 2% milk for the perfect richness balance; whole milk or skimmed might alter texture.
- Ensure the pie plate is well-buttered to avoid sticking.
- Do not over-blend—30 seconds is enough to combine ingredients without overmixing.
- Sprinkling nutmeg is optional but highly recommended for added flavor.
- Let the pie cool completely for the custard to set properly before serving.
Keywords: custard pie, magic crust pie, simple custard dessert, baked custard, easy pie recipe